Waeco Heaters MSH 50 and Exmoor Outlast Covers
When we got the Landy one of the negative points was the state of the interior and the seats. The fabric was horrible, torn in places, smelt really bad and the seat squabs (foams) were collapsing.
At some stage we would need to re-upholster the interior. Additionally in the back the standard second row seats are not very comfortable and in the event of a collision would not provide any neck or back support, as they had very low backs.
Something would need to be done to all of it.
We decided that any work on the interior should include both rows of seats, the front seats would be re-covered with an Exmoor Trim kit and the second row would be replaced by high back seats, also from Exmoor.
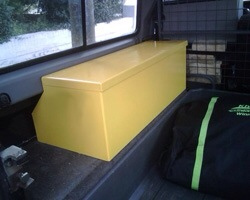
In the very rear the bench seats were removed completely. These would be replaced by storage boxes.
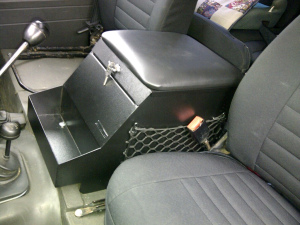
Also to go would be the un-lockable cubby box at the front which had replaced the front middle seat before our time.
In the end we decided to do the following:
- All seats would be in Outlast Black fabric, this happens to be what the MOD are using on their refurbished Land Rovers I believe.
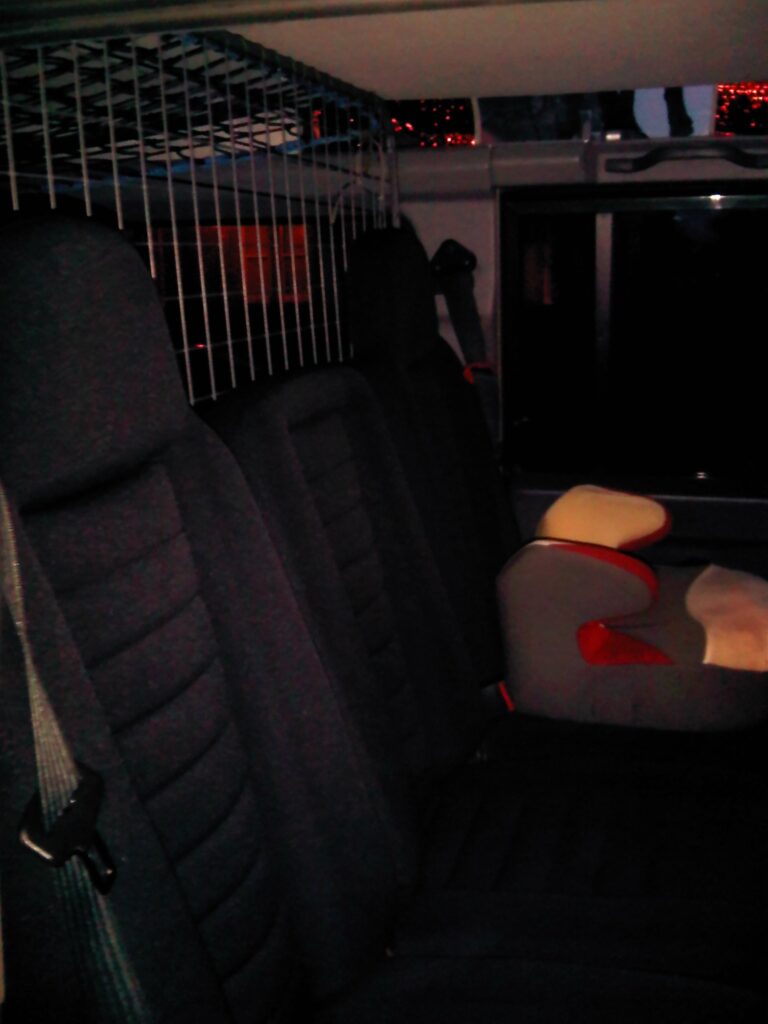
- Replace back seats with Exmoor high back on the outside and a low back in the middle.
- Strip front seats to the frames, fit new squabs and Exmoor Trim seat covers.
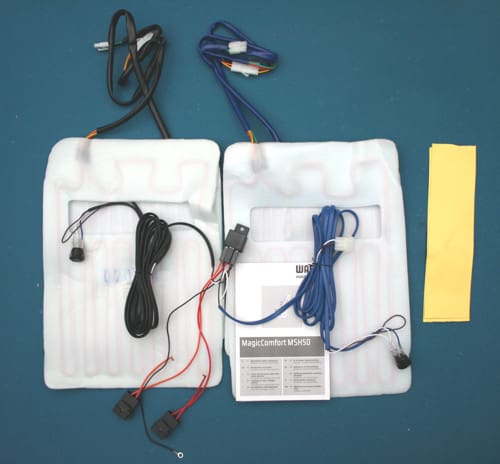
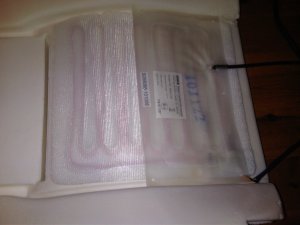
- Install Waeco MSH 50 seat heaters in the front seats. These are what Exmoor sell, but I purchased them from MPS trading as they were cheaper. The data sheet can be found here.
- Install lumbar support in the drivers seat.
- Install Wright Off Road sound proofing. This is what Exmoor Trim sell. It is also what is used by the MOD.
- Install lockable cubby box.
- Install rear storage boxes.
Initially we started with the front passenger seat to make sure we could complete a seat with out making a complete dogs dinner of it. Arguably it would be hard to make the seats any worse than they already where.
The kit from Exmoor is very comprehensive and includes everything you need. Glue, pins, foam, rubber edging, covers etc. The first part we attempted was the seat base. Taking off the old cover and foam takes little time. Stripping the main seat frame is also a quick job. Getting the head rests off does take a little brute force and ignorance thou.
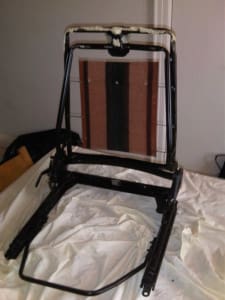
The following pictures show the seats stripped and the heater and lumbar support on the driver seat back in place. When I installed the lumbar support I was unsure if I should place the lumbar cushion between the foam and heater or between the heater and the seat cover. Exmoor trim advised me on the phone to do it as shown, between the heater and cover. If I am honest I am not convinced. I’d love to hear from others who have done this?
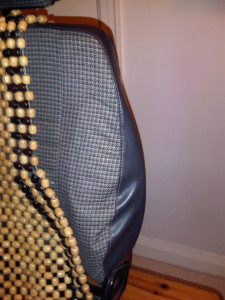
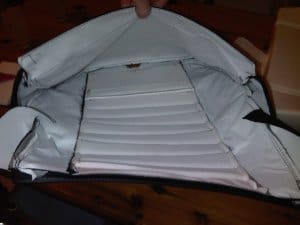
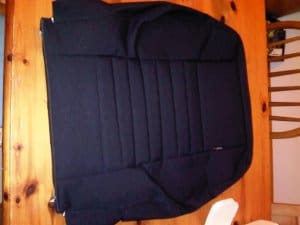
The image below shows the cover before installation and the inside of the cover, it is hard to believe they will fit when you do it. The key is to turn the cover inside out and edge them down slowly slowly. The real tricky bit is securing the edging strip at the bottom, it requires a strong grip and tough thumbs.

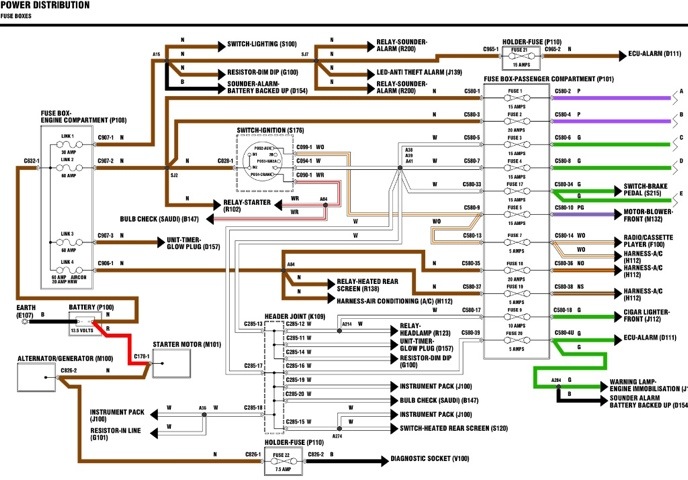
When it comes to connecting the Waeco seat heaters, I managed to run the cabling under the sound proofing and centre console, then between the gearbox tunnel and sound proofing. At the fuse panel, I mounted the relay. I also ran the cabling to the switches up on the centre panel.
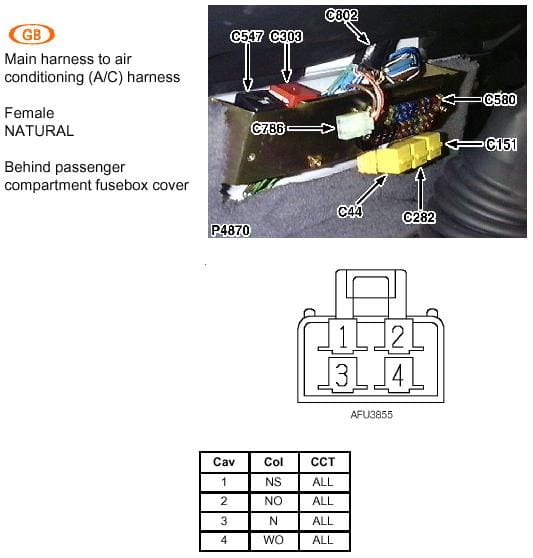
At the fuse panel, I made use of the air conditioning connector. This provides a switched ignition feed for the relay (white wire with orange stripe) and a battery feed (brown wire with orange stripe). The connector is not shown on the schematic below, but is C786. Which is shown in the picture towards the bottom of the page.
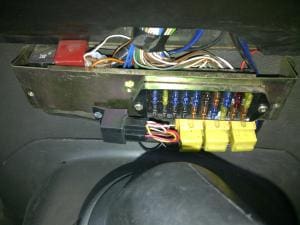
I removed the fuse holders from the Waeco loom and made use of fuse the existing fuses, I did swap fuse 18 for a 10 amp fuse instead of the standard 20 amp fuse that is fitted. The final fit is shown on the right at the fuse panel.
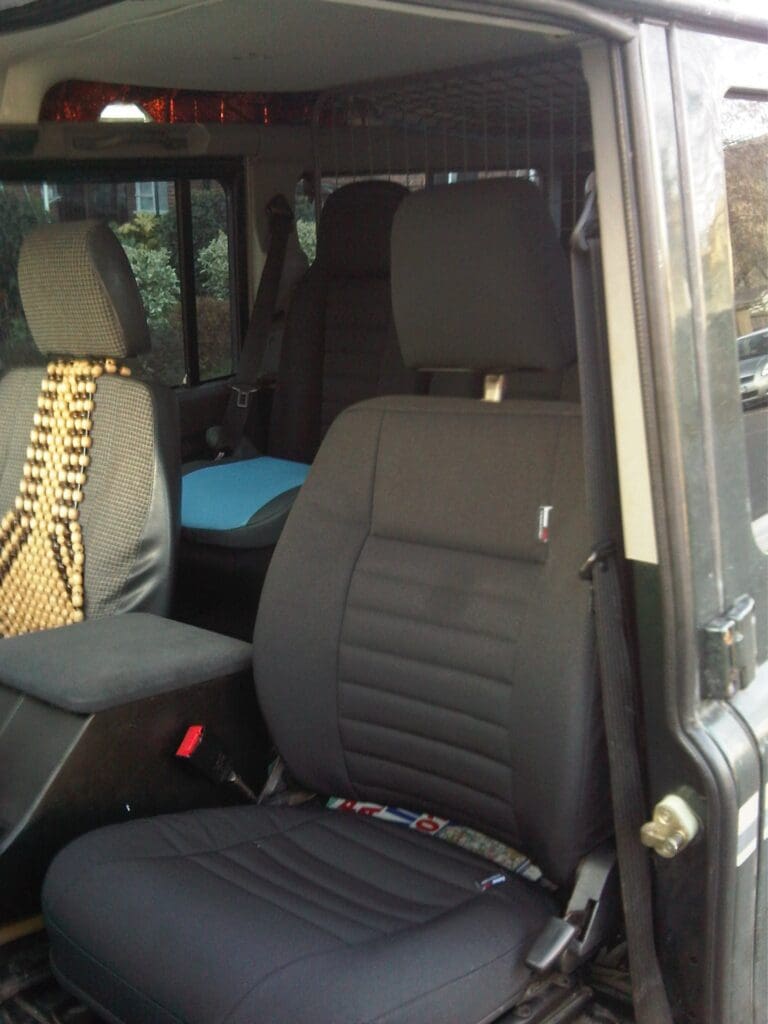
Final results can be seen in the pictures at the bottom of this post.