
The binnacle on the Defender is the part that surrounds the instruments in front of the driver, it secures to the underside of the dashboard top surface. The binnacle is also known as the instrument cowl. Item 1 In the picture on the left.
The binnacle provides a frame to mount the instrument panel and heater controls onto. On older Defenders and I expect Series vehicles also, it is common to find them cracked and falling apart, this leads to the surrounding components being loose and fee to move. In my case leading to an annoying medley of squeaks and rattles.
It is a simple job, apart from a couple of awkward screws, to replace the binnacle, a standard plastic replacement is available from various part suppliers at about £50. I believe the part number is MTC2808.
The problem with replacing like for like is that eventually the replacement will end up in the same state as the original, I suspect the combined effects of heat, vibration and UV on the exposed sections probably cause the failure. That together with heavy hands. I suppose you would hope that modern replacements are of a better specified plastic and more hardy. Not knowing for sure I wanted an alternative.
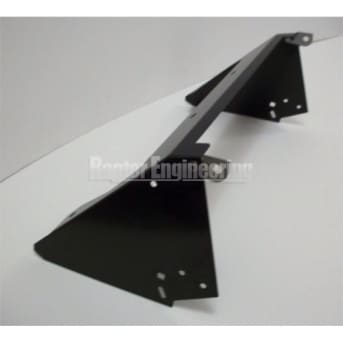
Luckily a powder coated steel equivalent is available from Raptor Engineering, at around the same price as the plastic replacement. I decided I would go for this when I replaced the binnacle on our Defender. I did not fancy doing the job again in the future. Picture on the right shows what it looks like. I forgot to take a before picture, so have pinched the one from Raptor’s website.
One of the good things about the Raptor replacement is that there are less of the fiddly screws to put back, once they are out. Also the lugs at the top of the mount, were the top of the instrument panel secures to are adjustable, allowing an element of fine tuning the final position of the instrument panel.
On thing that would have been nice as an option on purchase, would have been a kit of u-nuts and original spec screws. I found that I had various bits missing, probably lost with bits of dash before my time. I think I would have purchase the extras at the time if I had the option.
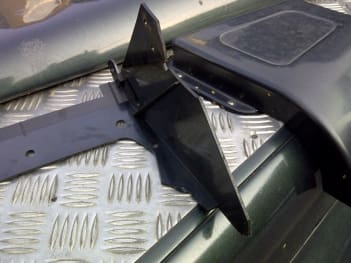
I eventually managed to get the old binnacle out and it was only then that I realised how bad it was. There were pieces from both sides and the back missing, there were also various cracks which prevented the captive nut things securing properly, which are supposed to hold the side panels.
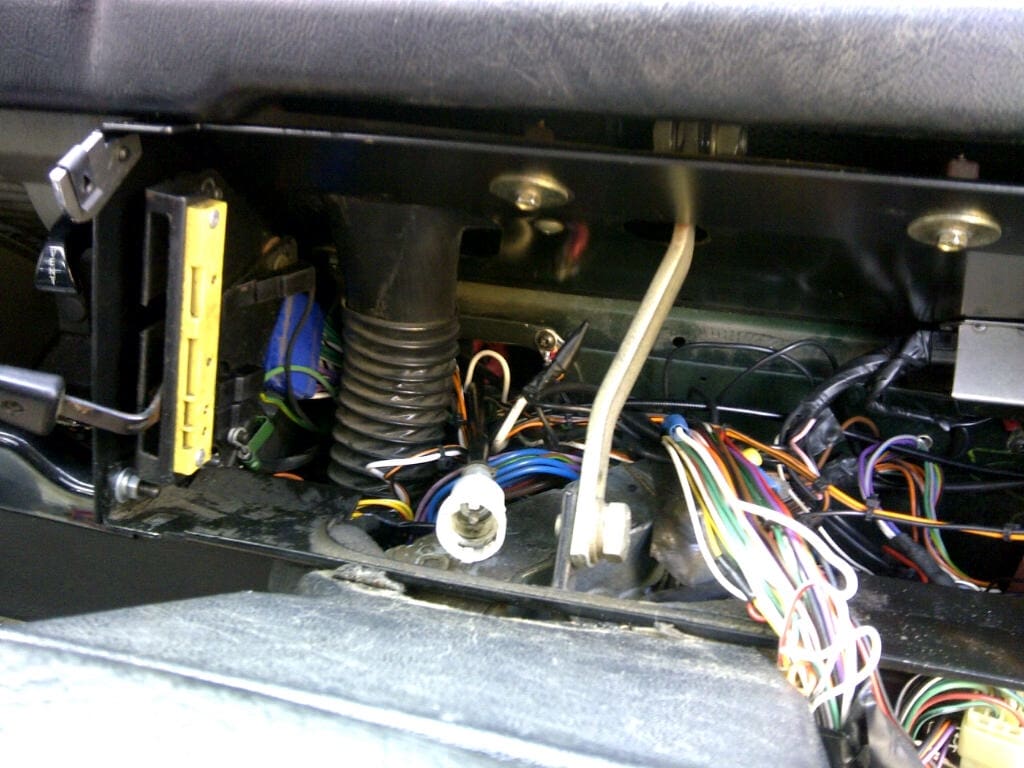
I have my suspicions that the rear section in the picture on the left was broken when the immobiliser was fitted for my insurance. I found the missing bit deep in the dash below the hazard relay etc. the other side of the binnacle looks similar to this.
Once the old one is out the Raptor replacement dropped straight in. I loosely fitted it to start with to allow me to make sure everything lined up correctly.
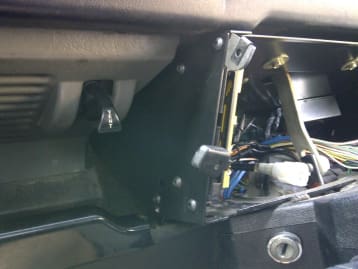
Once happy, I secured the main fixings and then the heater controls to the binnacle. As I had screws and u-nuts missing, I decided to replace all of the side self tapping screws with round head hex M5 screws and nuts, that are black anodised. This matches the adjustable tab screws provided by Raptor and looks smart, it also gave me the spares to secure the front properly. The only self tappers are the four that secure the main instrument panel to the binnacle. Picture below if you are interested.
Overall, I am pleased with the Raptor Engineering product, it makes a very sturdy replacement, fits well and gives the dash a fresher look. I would highly recommend using this as a standard replacement.