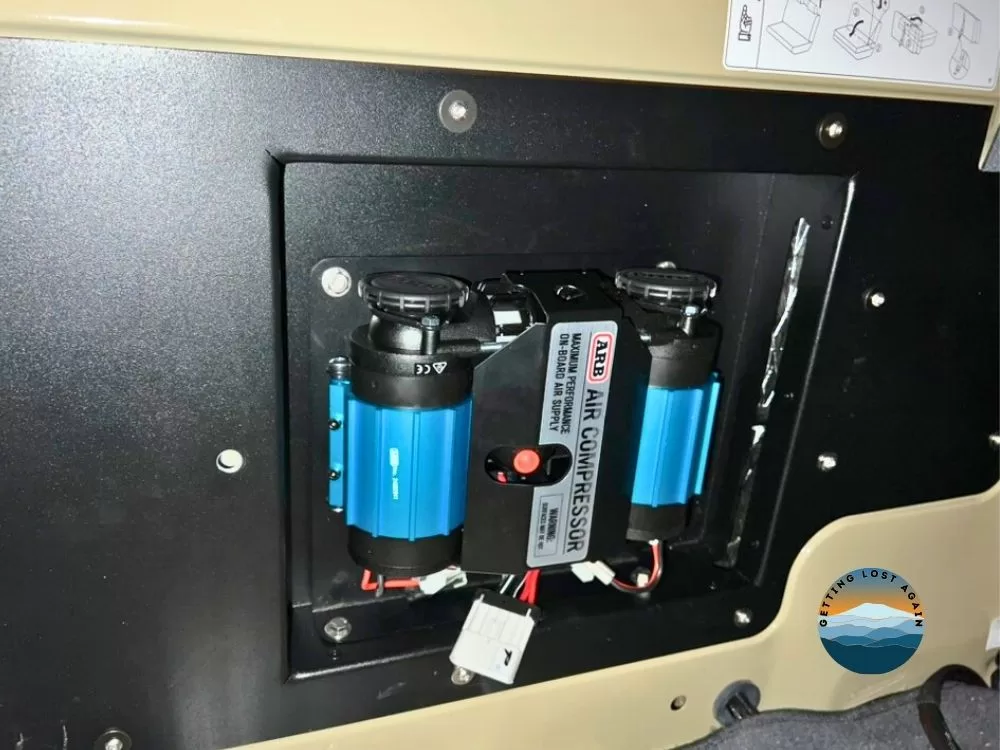
Troopy Build Series: Air Compressor Installation
On-Board Air System – Background
This post continues the series of articles documenting our campervan build based on a Toyota Landcruiser 78-Series Troopy or Troopcarrier.
This post covers the air system we are installing onboard, explaining why we need one, what we installed, and how we installed it. We’ll also show you all the details of what we did to complete the process.
Why Install air on-board?
It is not unusual for cars to carry a small air compressor. People normally carry these for the rare occasion that they need to top up a flat tyre. I suspect in many cases, these compressors are not used, as those types of users are rarely far from a service station.
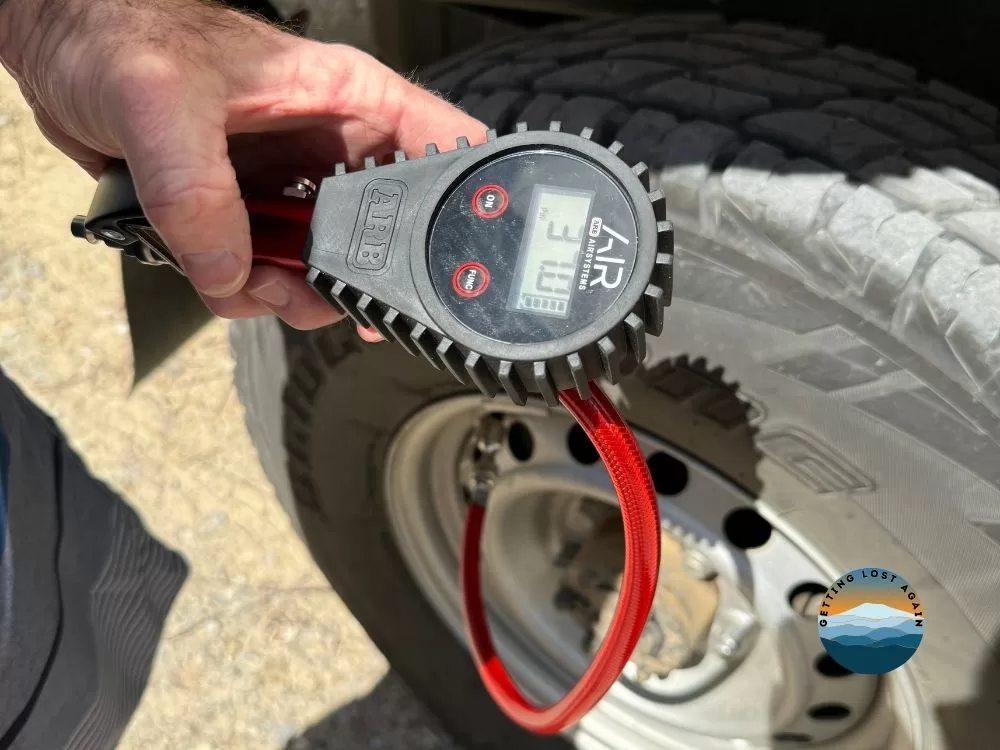
On the other hand, for a typical 4×4 enthusiast driving in various conditions, it is essential to carry an air compressor because, as the conditions change, tyre pressures must be changed to suit the type of driving.
On our overland trips, we drive in various terrain, from corrugated hard gravel roads to soft sand and mud, beaches to deserts and mountains.
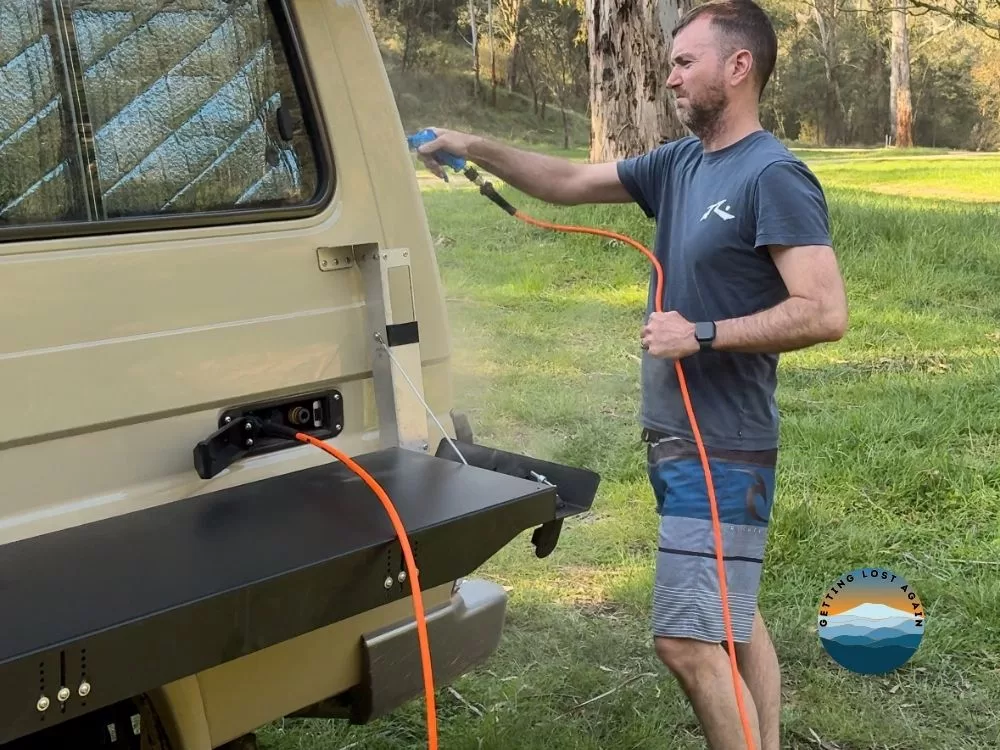
Each condition requires different tyre pressure to improve the passenger’s comfort and the vehicle’s performance and capability. The tyres are at less risk of sustaining damage with the correct pressure.
It is not just tyres that drive the necessity of having an air compressor with us. We use the air compressor for other duties, too, like cleaning engine air filters, inflating stuff, and blowing off the dust from the back of the car after a hard day on the tracks so that we don’t fill the camper with dust.
Permanently Mounting a Compressor vs Portable
While discussing why an air compressor is needed, we should also discuss the advantages of installing and permanently mounting a compressor over carrying a heavy-duty portable compressor.
Whilst a portable compressor is more than capable of meeting the exact needs of a permanently mounted compressor, it is fairly bulky and, because of this, when considered alongside all of the other items needed, such as air hoses, takes up a large amount of storage space. Not to mention the potential for an incorrectly stored compressor to become a projectile in an accident.
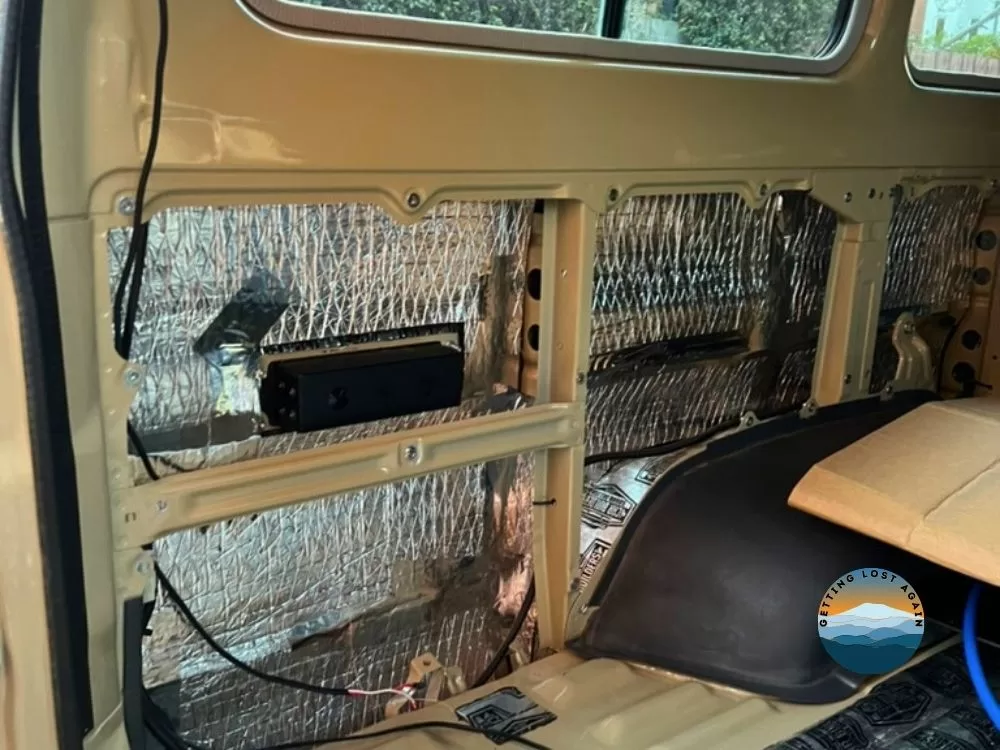
Storage is not ordinarily a problem for a weekend or shorter trip, but space is at a premium for those planning longer overland journeys. The advantage of permanently mounting a compressor is that it is possible to use otherwise wasted space, for example, as we have done in the vehicle’s side wall, making more effective use of our space.
The other advantage is that the compressor is securely mounted and easily used, avoiding setup time, etc. This means we are more likely to actually run the correct pressures for our tyres!

What are we Installing
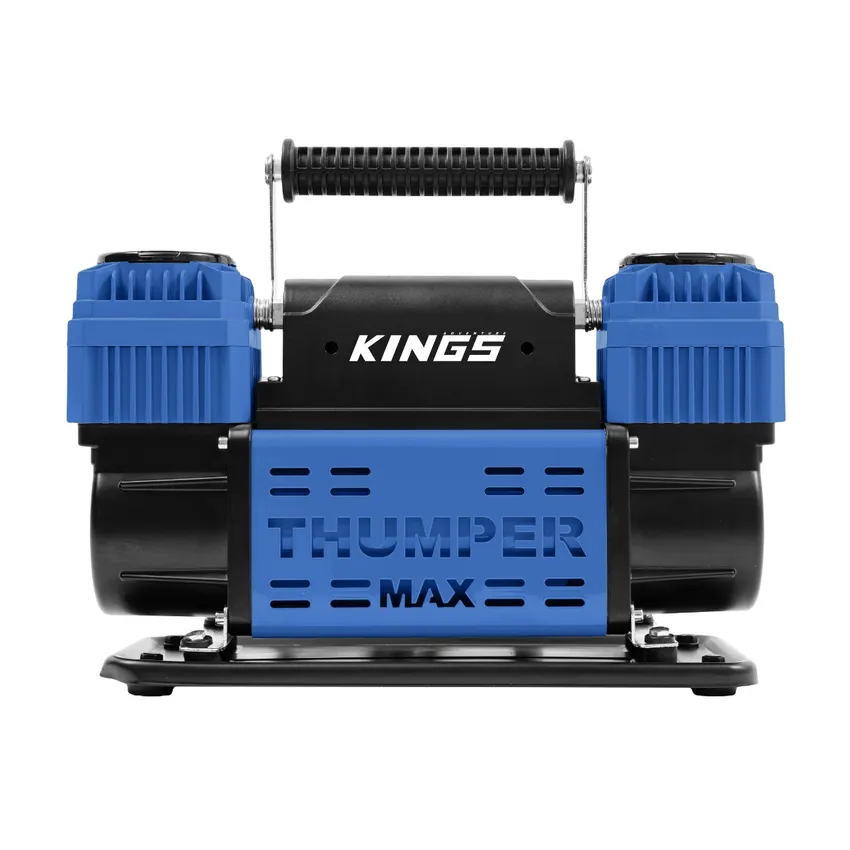
In our vehicles before the Troopy, we have always carried a portable dual-motor compressor. The last one was a Kings Thumper Dual Compressor, which I have to say was very good. The issue for us was the bulk. I would not hesitate to recommend one of these to someone looking for an easy solution.
ARB Twin On-Board Air Compressor – 12 volt (CKMTA12)
Given that the Troopy setup is for longer-term travel and we want to use space optimally in our rear setup, we installed the ARB Twin On-Board air compressor. The main reason for this is this compressor’s known reliability and other factors, including the availability of accessories and mounting brackets.
Lastly, I like the design because it essentially consists of two independent compressors run by two motors linked by a common manifold. This means that should one of the motors fail, we can still use the compressor, albeit at a slow inflation rate.
Rear Setup – Installation
There is not much to say about how we installed the compressor. Have a look at the photos below, and let me know in the comments if you have any questions.
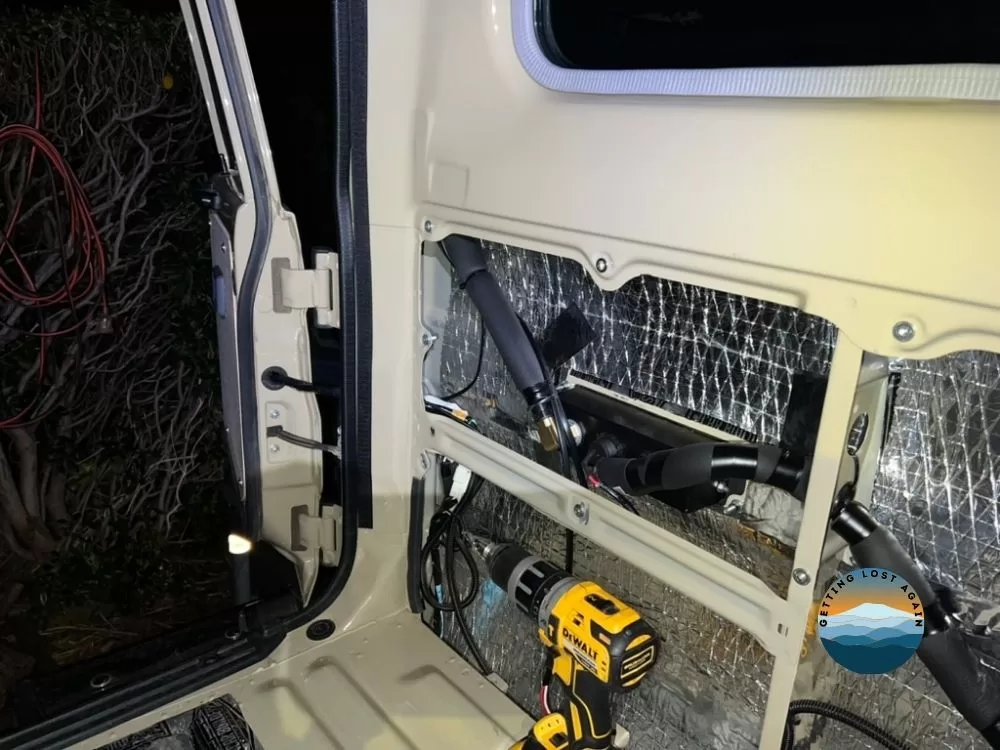
Compressor Location
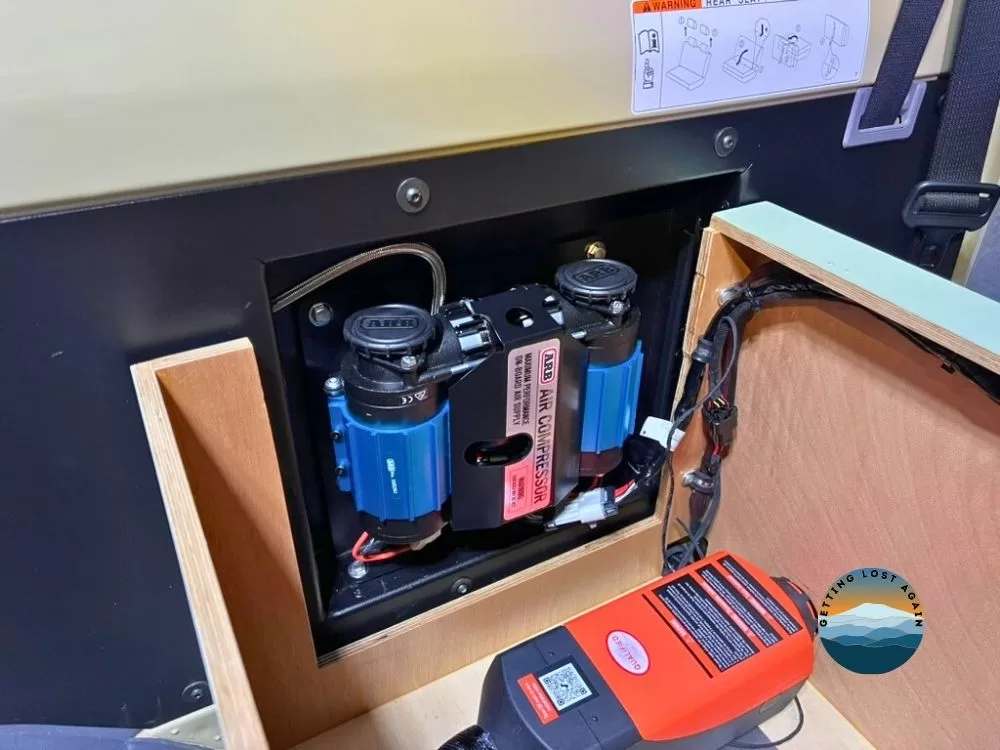
The compressor is mounted on the passenger’s side wall behind the front seat. The front seatbelt is visible in the photo; it is adjacent to the 2kW diesel heater mounted in the front cabinet of our rear setup.
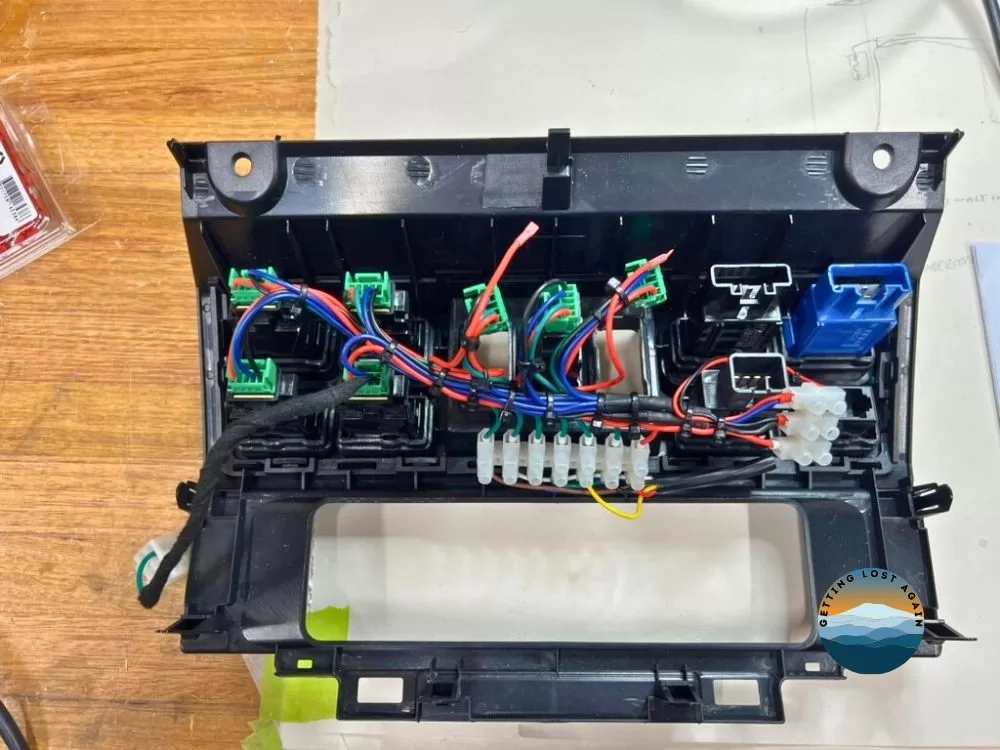
Dash Compressor Switch & Switch Wiring
The compressor’s wiring kit is fairly comprehensive and designed to integrate an ARB air locker system, which we do not need. I modified the wiring loom to simplify it so I could only run the compressor while the engine is running.
The compressor’s main supply is connected to the auxiliary batteries, which are located behind the driver’s seat. The connection is via two 40-amp fuses.
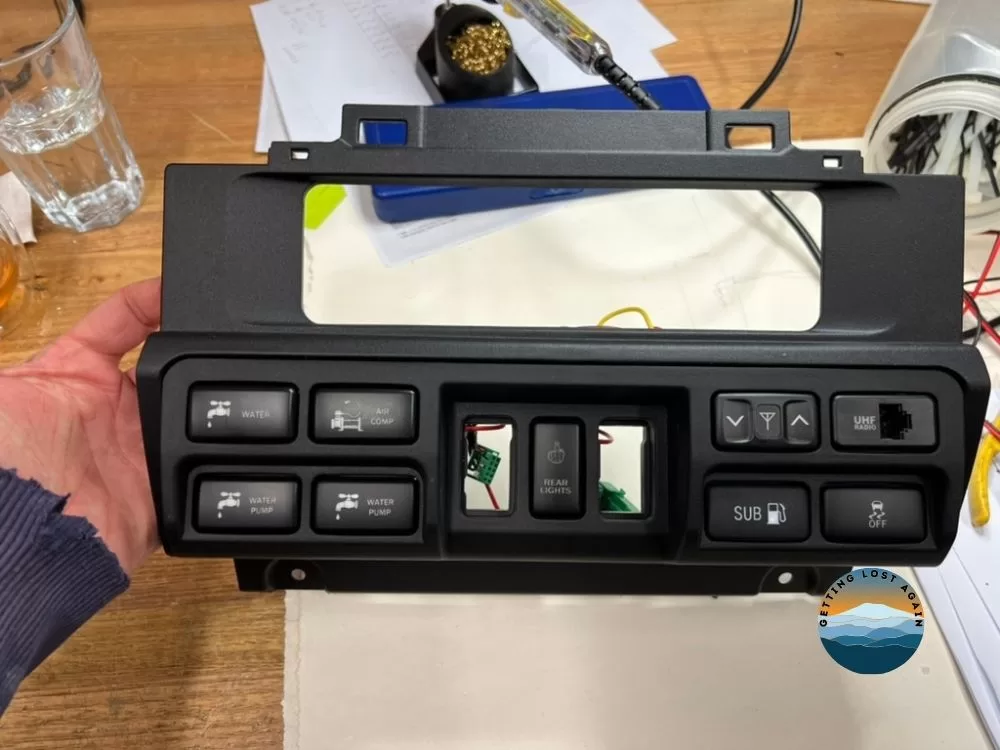
Be aware that if you are considering rewiring the standard loom to use a single 80-amp fuse, the individual cables would be unable to sustain the fault currents to blow the fuse. Therefore, we recommend that unless you are comprehensively rewiring, you stick with two 40-amp fuses.
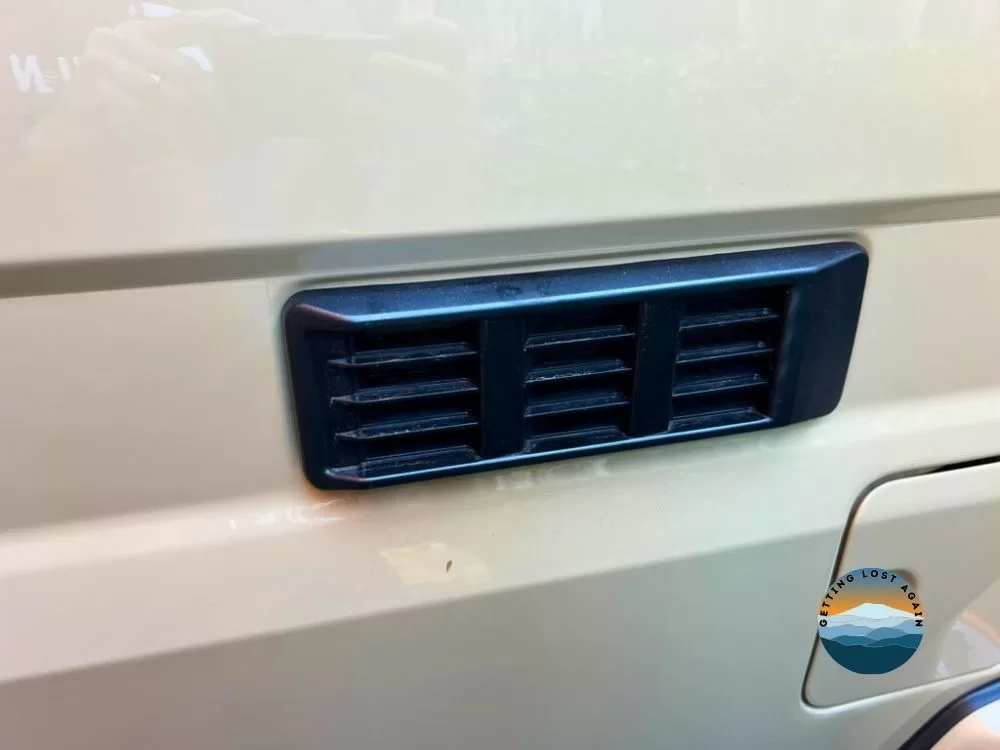
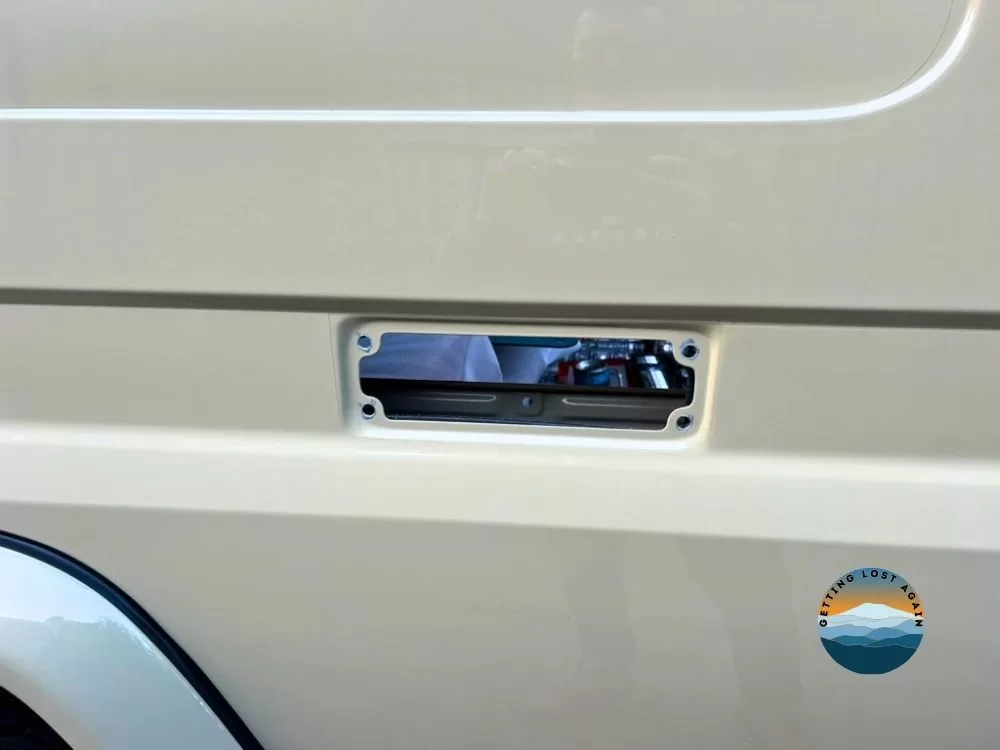
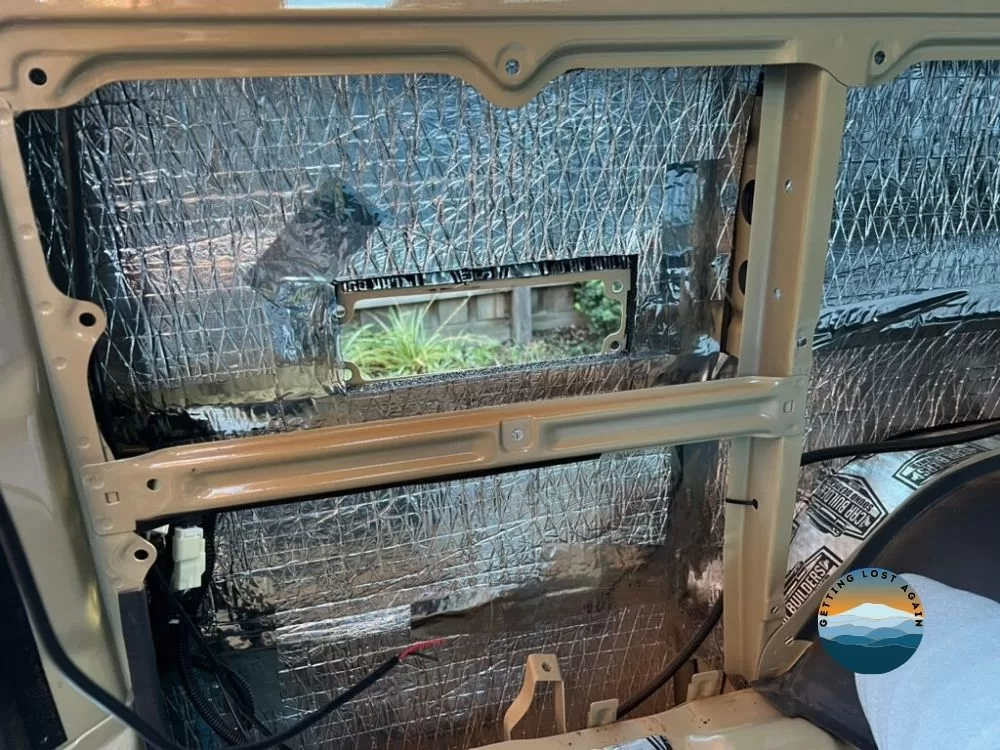
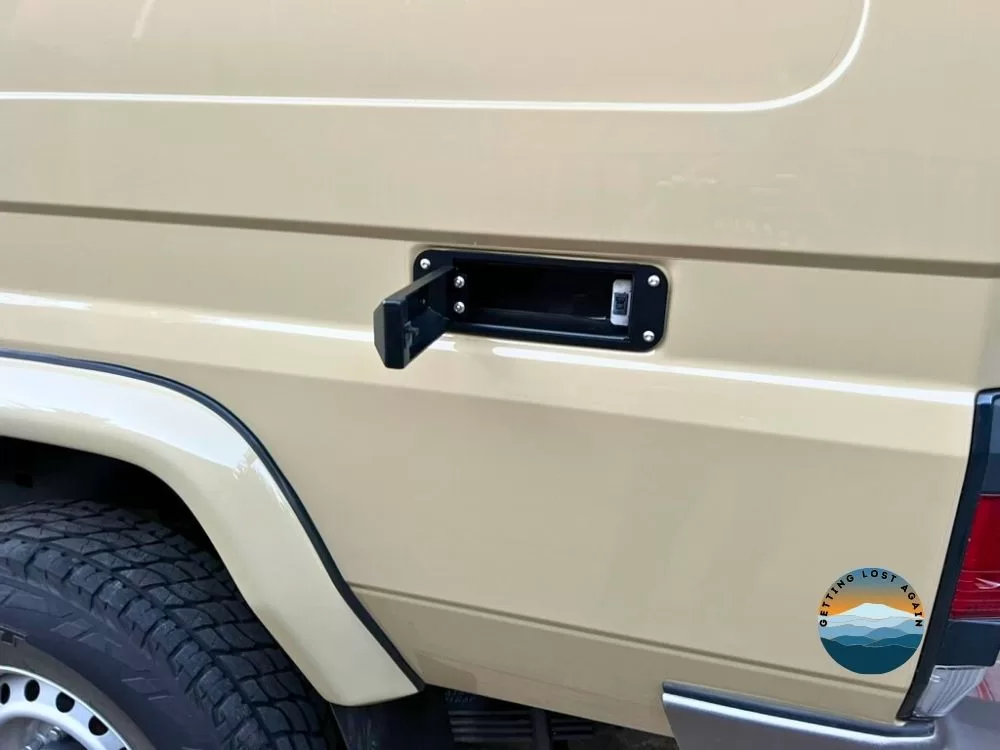
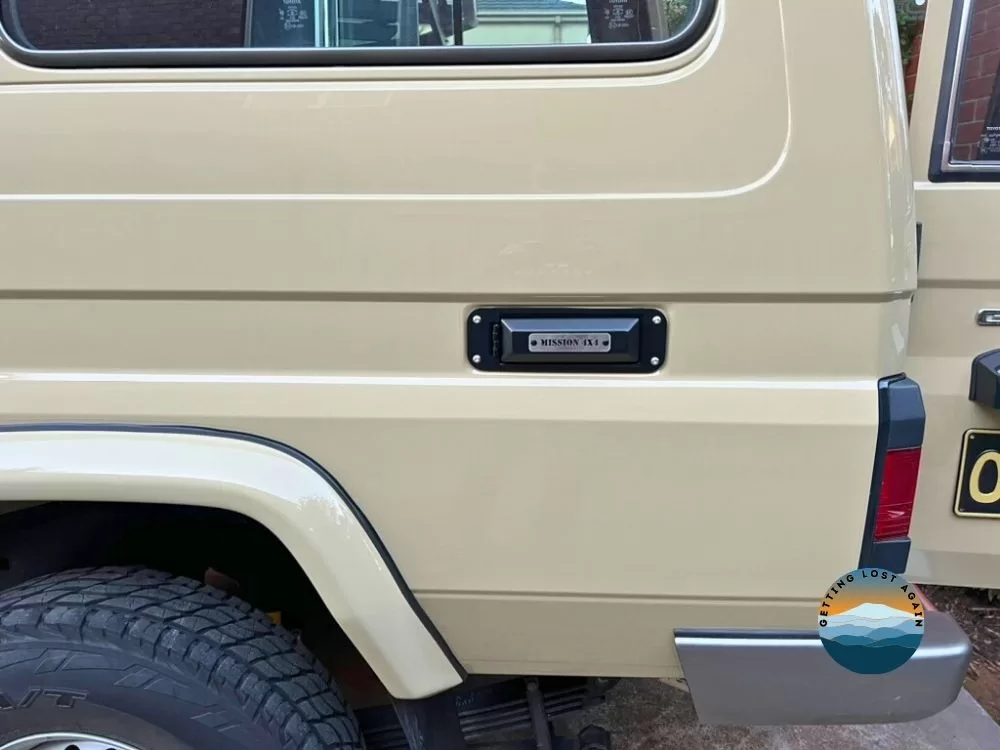
Air Vent Replacement – Utility Panel
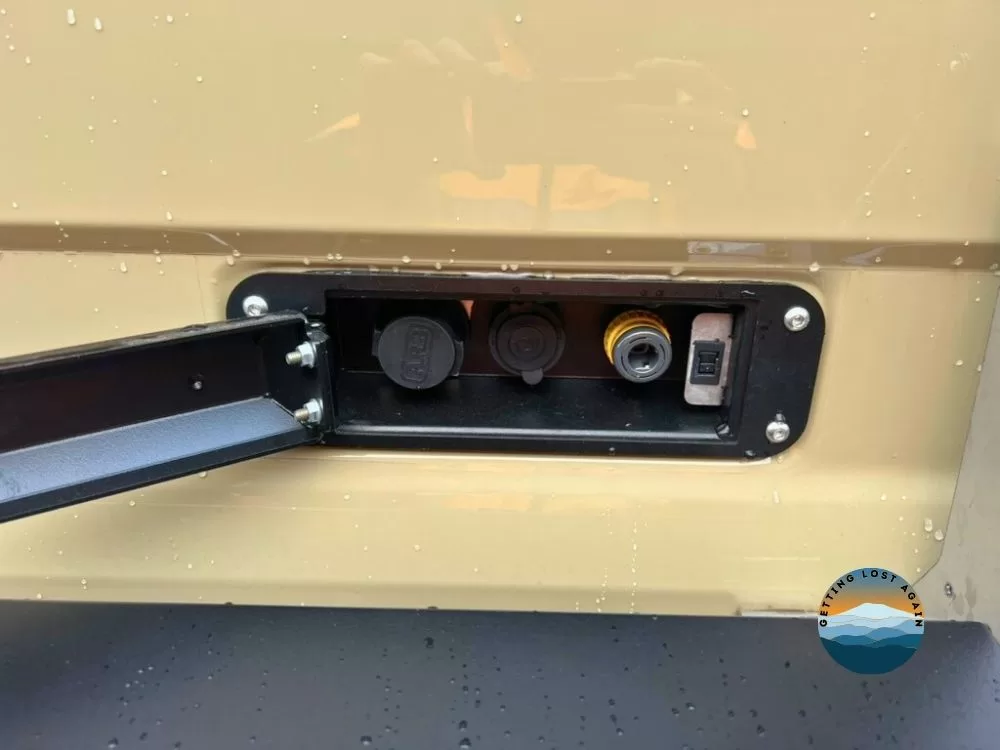
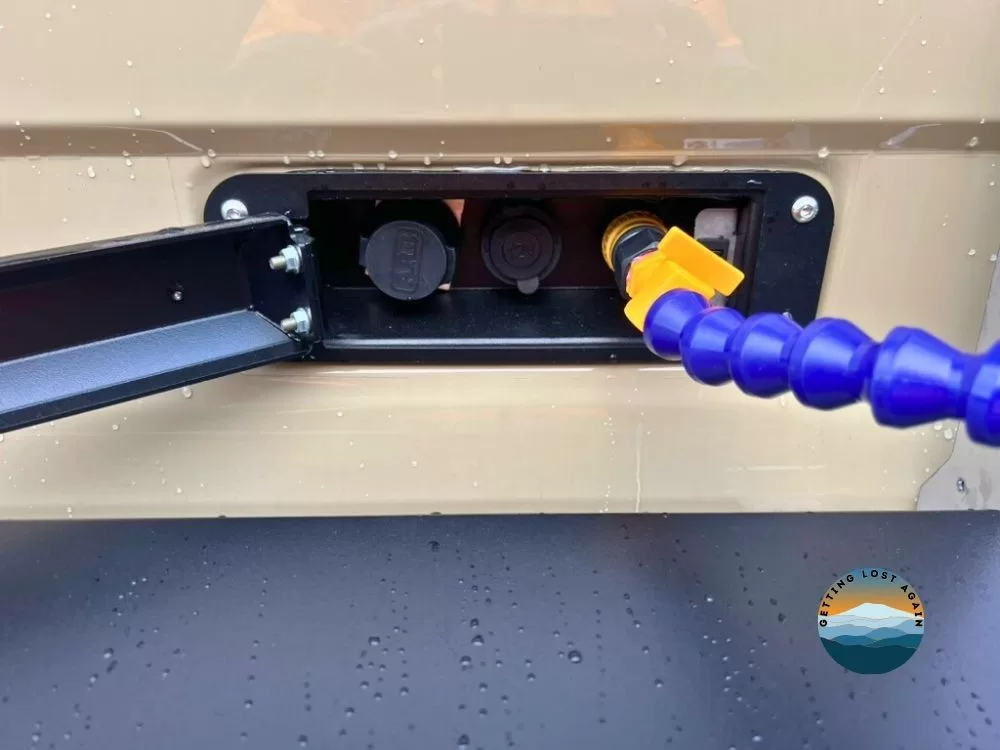
We replaced the air vent on the Troopcarrier with a Utility Panel. We chose to use a Mission 4×4 Utility Panel; we actually installed one on each side of the vehicle; this one is on the passenger side. It provides a handy place to connect the air hose to inflate the tyres, a freshwater outlet for cooking on our Maxtrax table, and a place to connect the awning lights at night.
If you are interested in how we installed the water system in our Troopy rear setup, check out this article in the series.
Conclusion
We are really pleased with the simplicity of the air system on board the Troopy. It certainly makes it much less of a hassle to air up and down when we are travelling. The novelty of blowing all the dust off the back of the vehicle to prevent dust ingress to the rear of the camper is also great. Let us know what you think.
If you liked this, check out the rest of the series about building our Troopy Overland Camper Setup.

Dan’s a windsurfing, adventure-seeking nomad with a passion for exploring the globe overland and an Engineer. Having grown up in the Middle East, he brings a unique perspective to Getting Lost Again, sharing his love for discovering hidden gems and embracing the unexpected. When he’s not on the road, he finds inspiration in windsurfing and other creative pursuits – and is equally at home under a vehicle solving problems as he is exploring a new place.
